Creating a New Project
This guide details how to create a new project using Swift Starter Kits. By the end you’ll have an Xcode project set up that’s ready for customization and development.
Prerequisites:
- Xcode 15.4+
Duplicate the Kit
Mentioned in the Installation guide, it’s recommended to keep a clean copy of your downloaded SwiftStarterKits directory in your filesystem. This will make it easy to bootstrap fresh Xcode projects from a common base.
To create a new project, copy and paste your starter kit of choice to a new location manually in the system Finder, or, from the command line:
cp -r ~/dev/SwiftStarterKits-2.2.0/StarterKit ~/dev/MyNewAppUsing your own directory location preferences and project name.
Initialize the Git Repository
It’s recommended to initialize version control using Git, to ensure that changes are being tracked from here on out.
cd ~/dev/MyGreatApp
git init
Open the Xcode Project
From Finder, double clicking on the StarterKit.xcodeproj (or the kit used to generate your project) file in the directory created in the previous step will open up Xcode.
The project can also be opened from the command line. Assuming you’re already in the project directory:
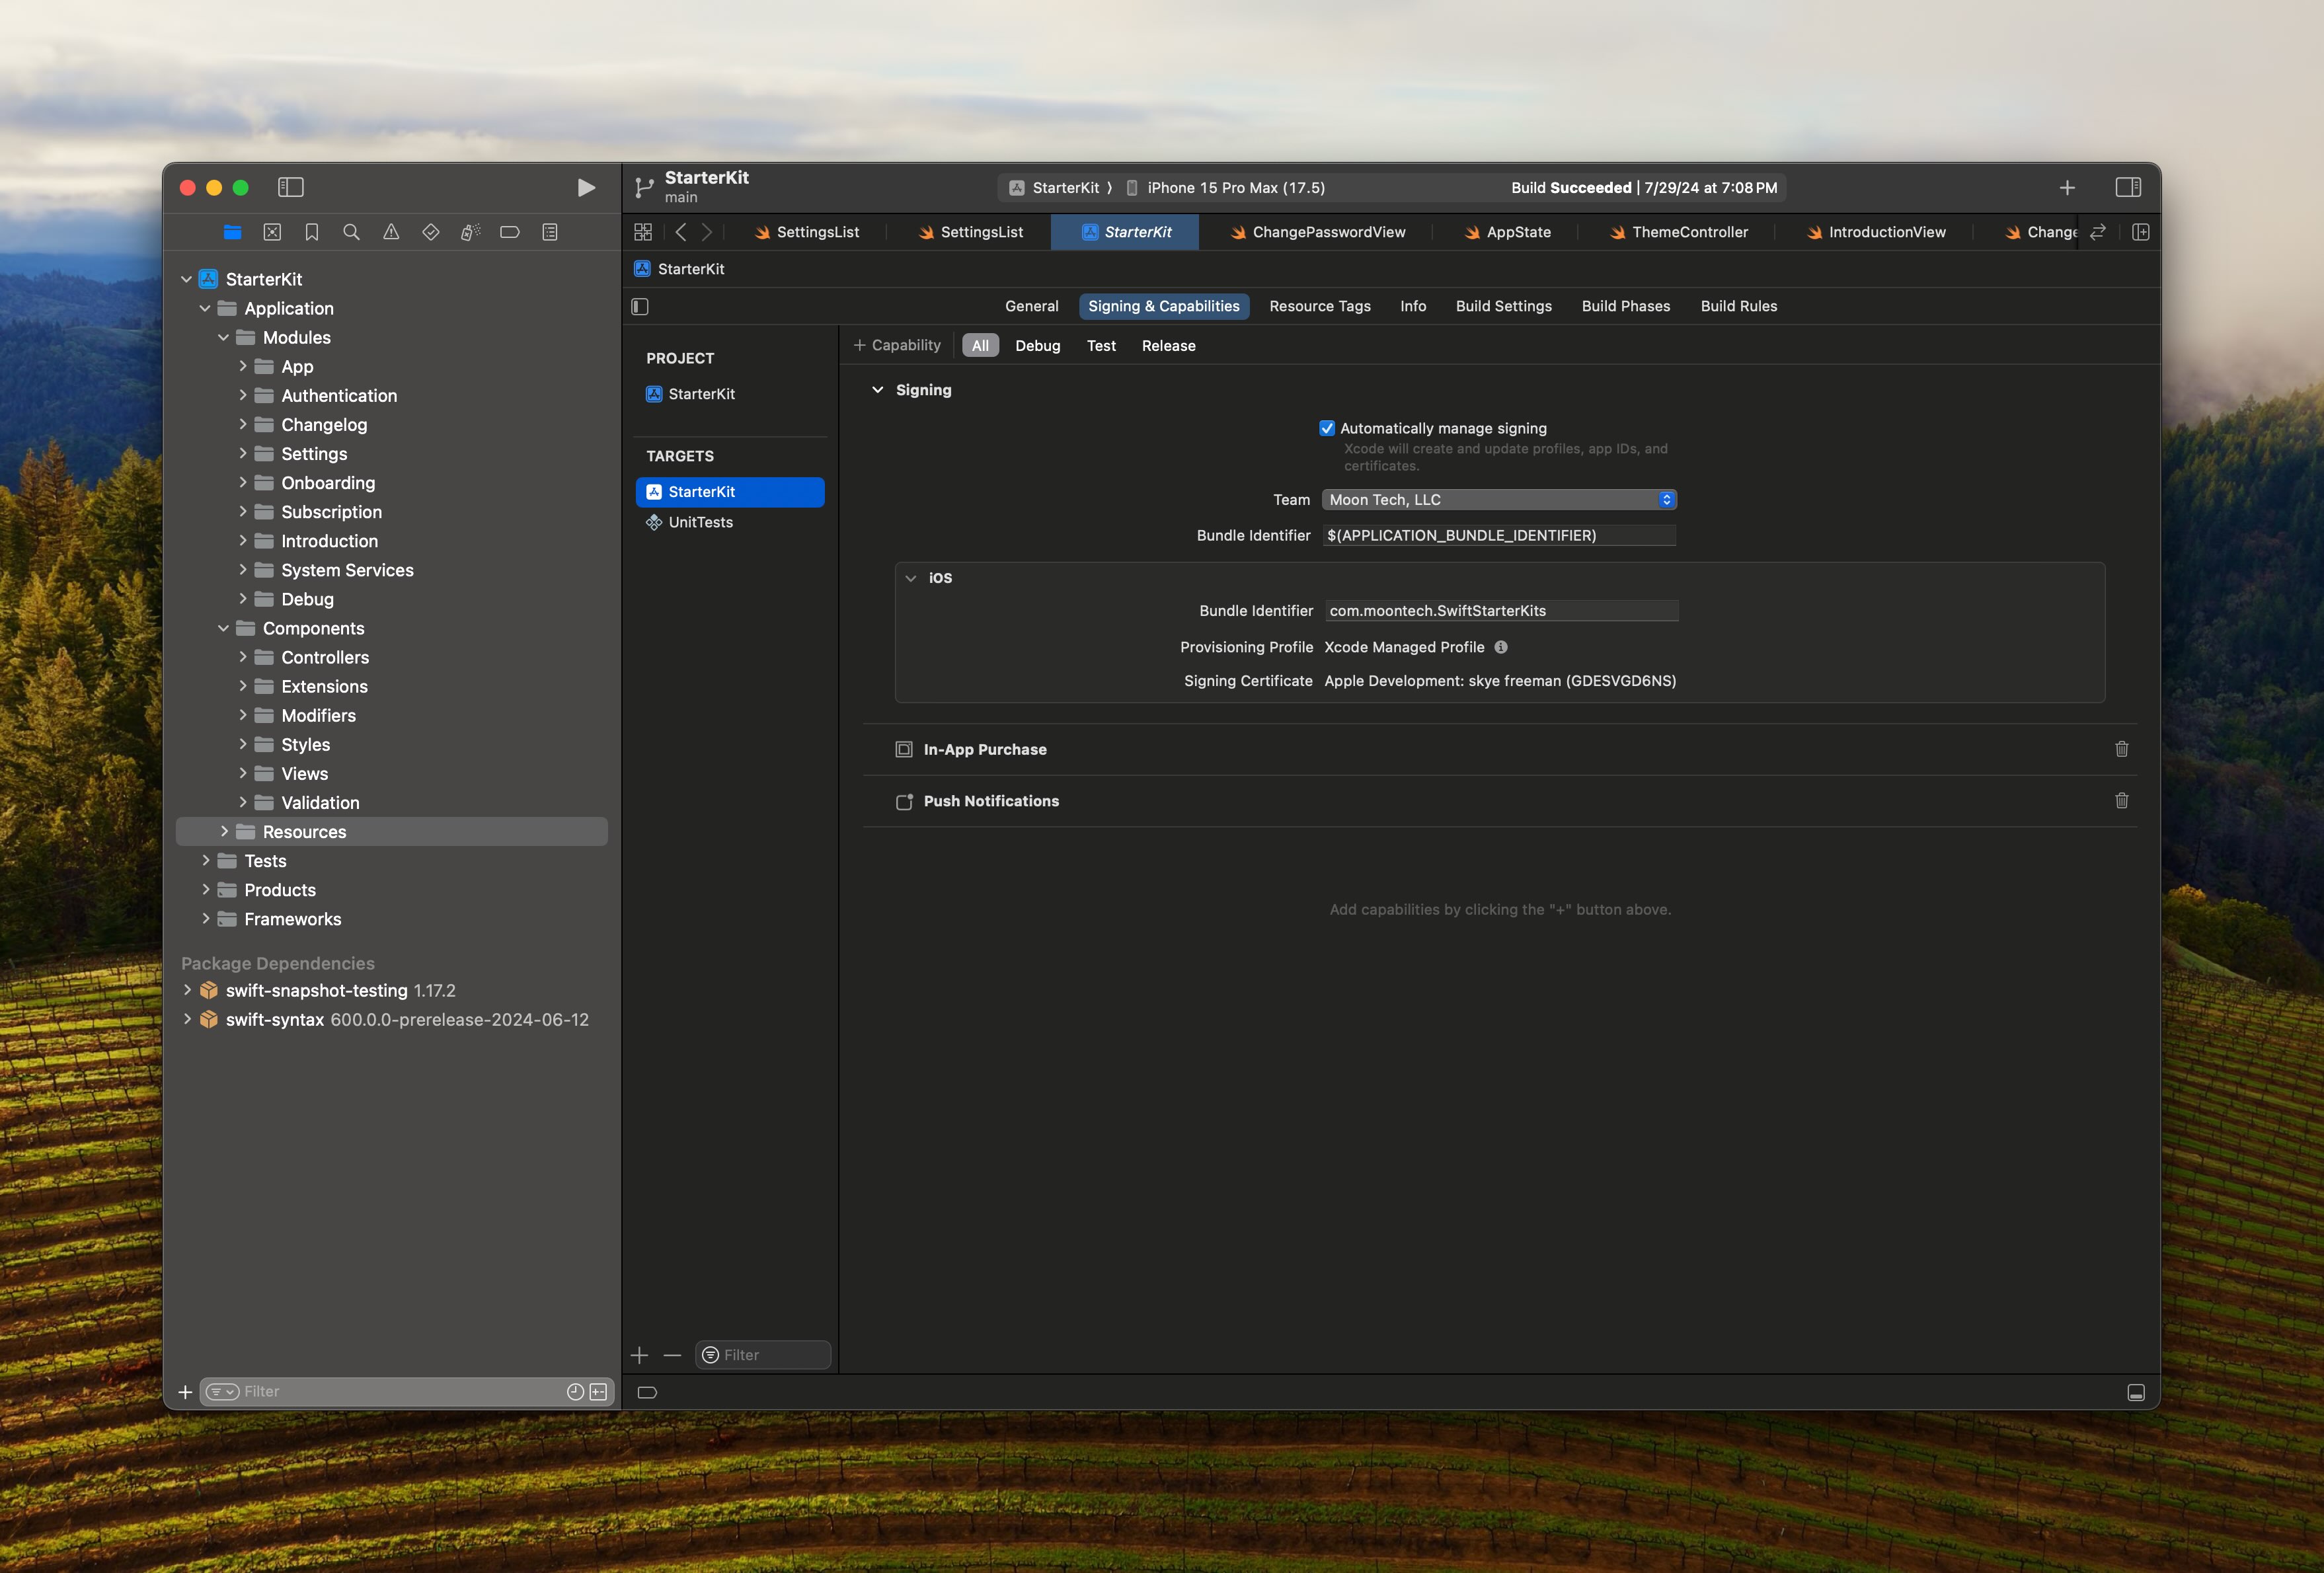
open *.xcodeprojOnce Xcode has launched, Swift Package Manager should automatically start installing dependencies. If this is your first time launching Xcode you may also need to install iOS simulators and other system components – but Xcode will guide you through this.
Have a look around the project from here, which should look like this:

From here, you should be all set to build and run your application.
Alternatively, you can skip straight to the Xcode Project Configuration guide for a walk through in customizing build targets and project settings for production.